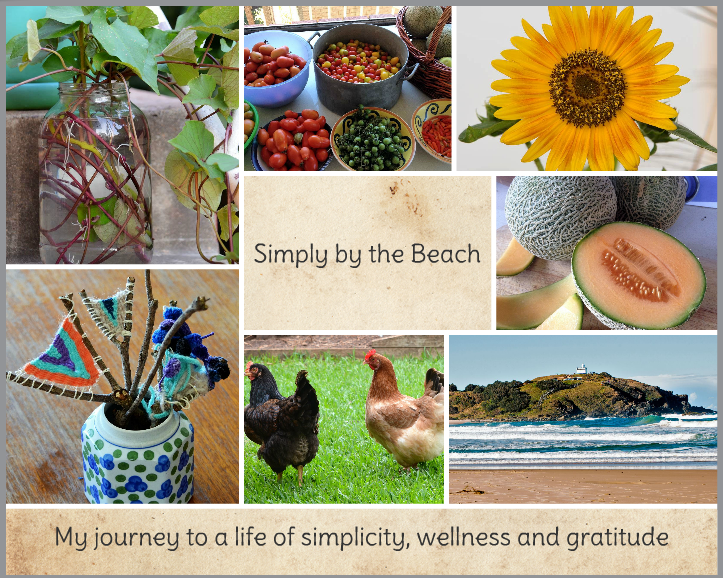
I begin my first seed saving post with a reminder I am not an expert! This is my first attempt at seed saving and everything I have learnt is from reading lots of books and researching from lots of different web pages as well as any good advice I have received. I have dabbled in gardening for the last 5 or so years, but am sure I have it in my blood as both my Nana's are extraordinary gardeners! I remember growing up and constantly playing in the garden so it was only natural I guess for me to head down the same garden path in my future.

To start with I chose I nice healthy looking plant from the six that I planted and then just let one of the zucchinis keep growing. I self pollinated first thing in the morning to make sure I had an exact true to form zucchini growing. I twirled up the flower so no more pollination could occur from other sources, i.e bees. Then just let it to grow. Leave it until the skin is hard and difficult to pierce with a finger nail. Normally a good 6-8 weeks or so. The plant puts most of its love into that one vegetable and will stop producing anymore new zucchinis. You can leave it until the end of the growing season so that you can get a nice crop from the plant first, but I personally wanted it to grow in the best conditions while nice and healthy to allow for the best chance possible to have strong seeds for next season.

Once you have picked the giant zucchini, leave it to rest on your bench for a couple of days. When a zucchini is fully grown it is known as a marrow. It can be eaten if you really want to by slow cooking for a while and jazzing it up with other flavours, but it is definitely not the same or as succulent as a nice fresh baby (or immature) zucchini.

Slice it in half and have a look at all those glorious seeds! Scoop them out with your fingers or a spoon and try to get most of the flesh away from the seeds then pop into a bowl of water and leave it to sit for a few hours or overnight just to get the rest of the flesh off.
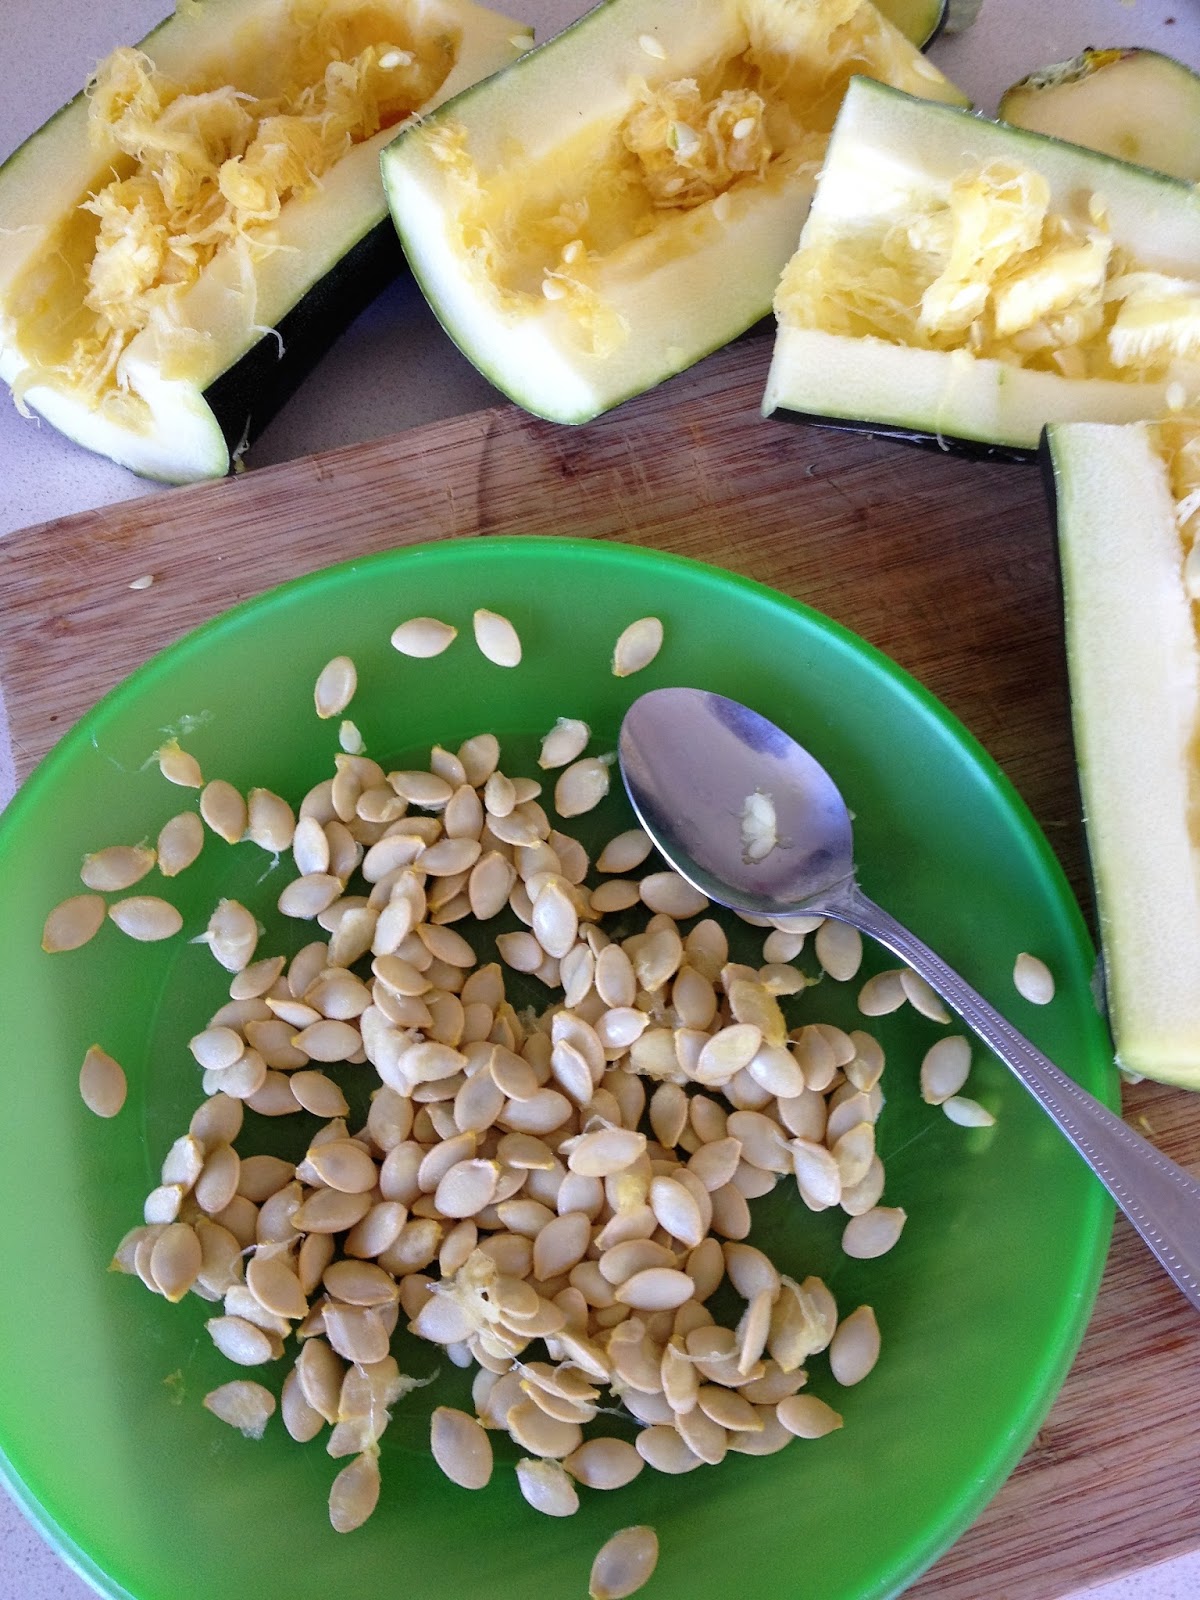
Once you have left in the water for a bit, give it a stir. The viable seeds will sit on the bottom and the ones not so good will float. Scoop out the floating seeds and discard. I noticed that the floating seeds didn't look as plump and mature as the rest and also some had little cuts in from when I sliced it up. Do this a couple of times. Then drain the rest of the seeds.

Place the drained seeds on some paper towel or a dry tea towel and set in a safe place to dry out. I put mine on top of the pantry cupboard away from the kidlets fingers. Leave for a good week or so, but make sure they are fully dried out. Test one and if when you try to bend it in half it snaps its ready. If it just bends you need to leave them for longer. Pop them into a paper bag, envelope or any sort of storage container really and store somewhere cool and dry. I have dedicated a cheese drawer in the fridge to my seeds and thats where they will stay until next year.

And thats about it. Now the big test will be next year when I plant them out. I'm sure they will grow into lovely plants and life will continue to grow abundantly at the beach farm. I hope this is helpful to anyone interested, let me know what you think. Good luck x
No comments:
Post a Comment